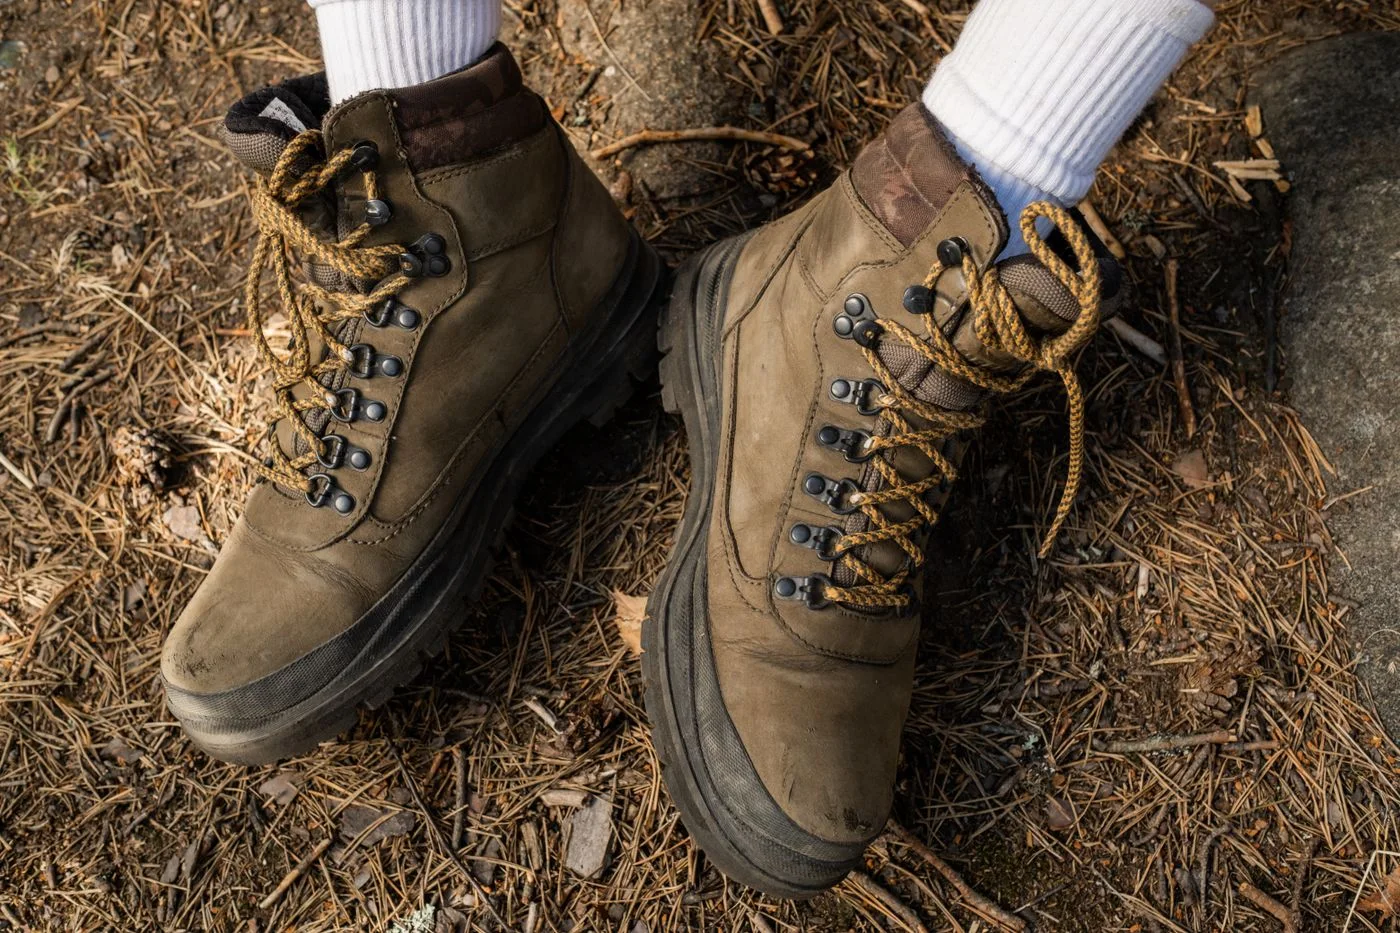
Pulling on the ends of a long lace does not necessarily tighten the entire boot evenly. Lower crossings can stay loose while the upper hooks are already under considerable tension. It helps to work deliberately upward and assess the areas separately. Two-zone lacing uses that division to make adjustment more precise.
Identify the system your boot provides
Some boots have clamping hooks that can retain the chosen tension between forefoot and upper. Others use a continuous lace path without that mechanism. Consult the manufacturer's instructions or ask the retailer to demonstrate it. A specially shaped hook may need different handling from the ordinary eyelet beside it.
HANWAG also describes crossing the laces around one another between the areas before setting a different tension above. Follow the method shown for your footwear rather than adding arbitrary knots. Any separation arrangement should avoid pressing on the foot or becoming so tight that opening the boot is difficult.
First inspect the laces, eyelets and hooks. A fraying lace or sharp-edged hook is not a tension problem. Replace the lace or seek an assessment of damaged hardware before taking the footwear on a walk.
Set the lower area deliberately
Place your foot properly inside the opened boot and center the tongue. Work through the lower crossings in turn. Aim for a clear, controlled fit without pulling every crossing as hard as possible. Compare how it feels when standing with a few walking steps.
If one area across the instep feels uncomfortable, release the arrangement and start again. Pressure that remains despite sensible adjustment deserves discussion with the shop, whether a different lace path or another footwear shape is needed. Tightening the knot above cannot correct an unsuitable fit beneath it.
Remember the lower setting before moving upward. With unfamiliar boots, changing one thing at a time helps you identify what improved the fit. Altering every part simultaneously makes the result harder to understand.
Close the upper for the movement you need
Take controlled steps and use a suitable step with the upper initially set loosely. Then adjust its tension gently. A closed upper should allow the required movement without feeling uncontrolled. Pull the two sides evenly and make sure the tongue has not shifted beneath a tight crossing.
A sustained change in trail gradient may justify another adjustment. Stop in a secure, level place to do it. Avoid hurriedly pulling at laces while balancing on a narrow or sloping section. Take several steps to check the result after making a change.
There is no universal pulling force or finger-width measurement for every foot and model. The same pair may feel different with another sock. Separate zones give you more control over adjustment; they do not remove the need for an appropriate initial fitting.
Keep the finished loops tidy
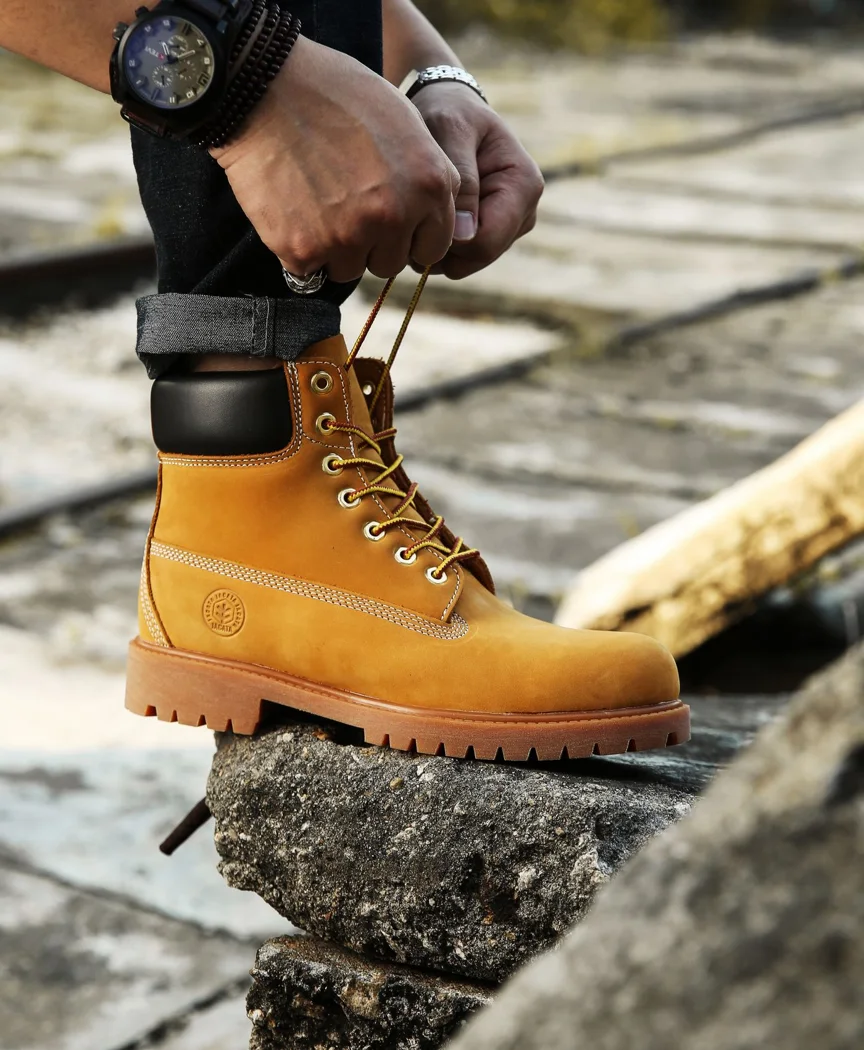
Tie the closure so loose loops and ends cannot catch neighboring hooks or hang far beyond the boot. Use built-in lace retainers according to the instructions. If the ends remain excessively long with the correct lace path, consider an appropriately sized replacement before cutting anything.
When taking the boots off, release the lower area sufficiently too. Pulling a foot out of a still-tight boot and forcing it back in next time saves little time and prevents a fresh adjustment. A few deliberate actions keep clear which area holds the foot and which controls movement around the upper.