A route profile resembles a miniature mountain landscape. The walk begins on the left and ends on the right, with the line rising and falling in between. It becomes useful when you read the axes and scales. A tall peak on the screen is not automatically a particularly steep path. A display may exaggerate a modest height change or compress a long distance into a narrow space.
Read the figures before the shape
Check what the horizontal axis represents. It commonly shows distance travelled, but the labels in the chosen application are what matter. The vertical axis shows height. Do not compare two walks solely by the apparent drama of their profiles. Different scales can make a gentle loop look more demanding than a route with substantially more climbing.
Find total ascent and descent as well. Subtracting the starting height from the finishing height explains only the difference between those endpoints. A loop can climb repeatedly before ending at its original height. For the shape of the day, that distribution may be more useful than knowing a single highest point.
Locate notable sections on the map. One sustained climb may follow a broad track; several small peaks may represent repeated movement over rolling ground. You need not record every ripple. Look for the sections that influence your choice of distance, direction, or pauses.
Pay attention to the final third
Reaching the highest point does not necessarily mean the walk is almost over. The profile can reveal another climb later. On a loop, that section may be a long way from the start. Consider the effort through to the actual finish, rather than only as far as the desired view.
Connect the profile with the intended schedule. A rest stop immediately before a sustained climb differs from a stop afterwards. Reversing the direction relocates climbs but can change other conditions too. Examine the whole route before choosing a direction from the graph alone.
For a first visit to an unfamiliar area, a well-described route with a fairly consistent shape is often easier to assess. That does not make every small rise a problem. It means there are fewer different demands to estimate simultaneously.
Recognise what the line leaves out
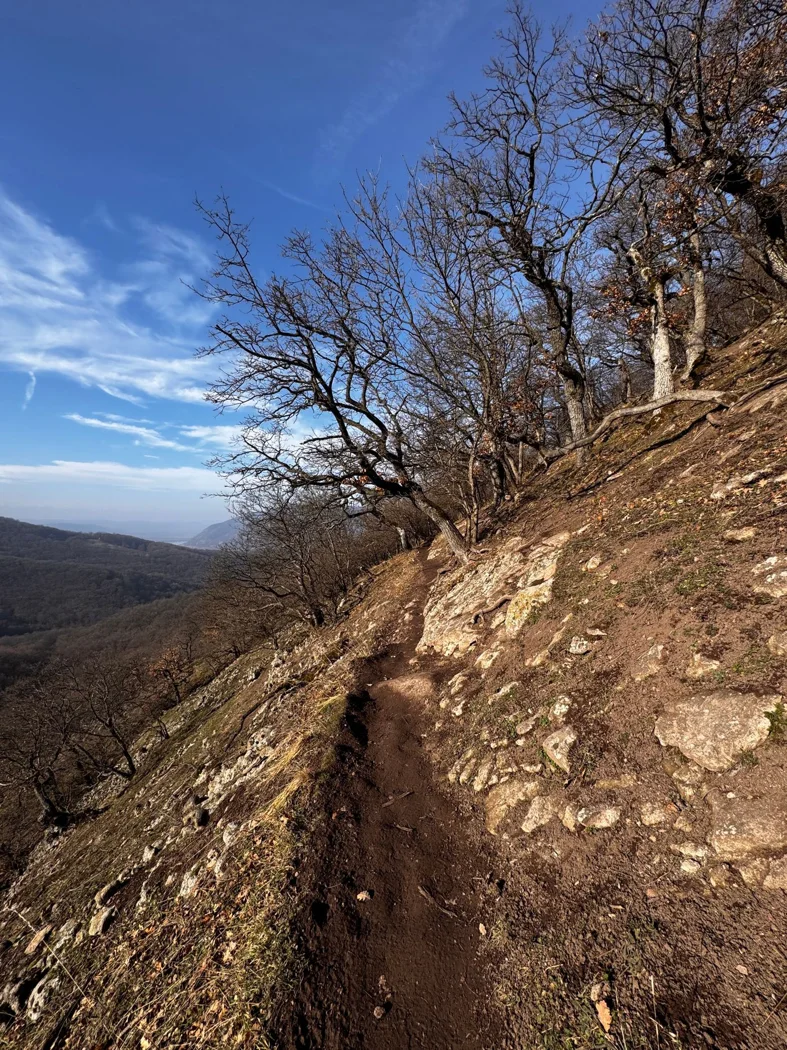
Steps, roots, loose ground, and path width are not reliably conveyed by an elevation line. Add a current description and relevant photographs. A level section can still be inappropriate if its access or continuation is unclear. Equally, a visible climb does not explain how comfortable the surface will be.
Treat the profile as an overview rather than a judgment about your ability. Use it to ask focused questions: what follows the pause, where does the longer climb begin, and is there another rise near the end? Once those questions are answered, the graphic supports a concrete choice for the day rather than simply creating an impressive appearance.