Learn the available adjustments
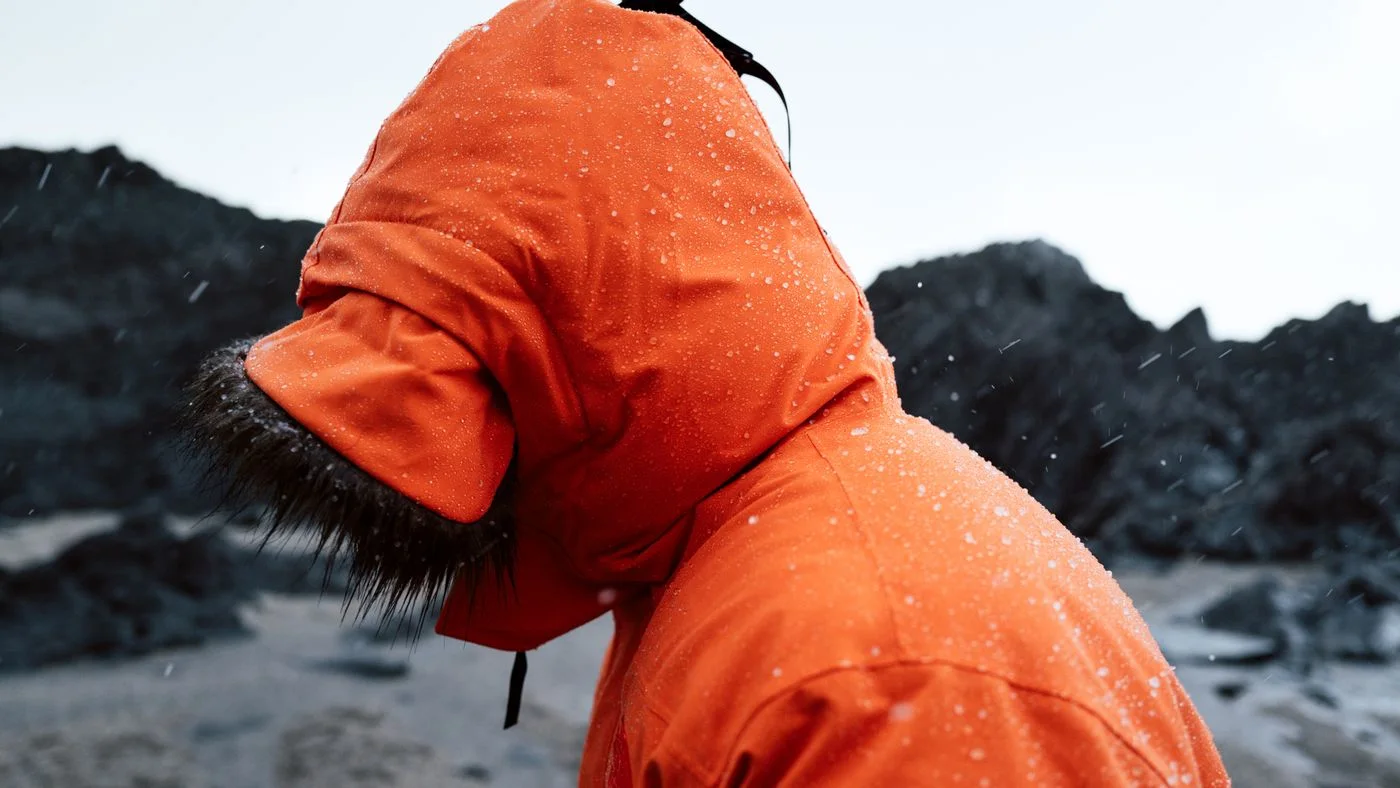
Put the hood on with settings released and fasten the jacket as intended. Use the model instructions to identify its adjustment points. There may be several, and their purpose is not always obvious. Mountain Equipment describes dedicated cord locks for hood adjustment, for example. Another model may operate differently.
Change one point at a time and observe the effect. Does it reduce the opening, alter depth or reposition the brim? Pulling every cord firmly at once rarely produces an understandable fit. Release an unsuitable setting rather than compensating with another excessive adjustment.
Move your head and observe the surroundings
Turn slowly left and right. Does the hood move with you or leave you looking into its side? Look upward and downward too. Its edge should not unexpectedly fall across your eyes. If it does, check the intended volume adjustment or compare another shape.
Repeat with the hat or cap you intend to wear underneath. A generous hood may be designed around other headwear. That does not make it automatically suitable without that item. The jacket needs to adjust for your actual use.
Fasten the collar as you intend to wear it and check again. The hood should not be comfortable only with an unrealistically open front. An uncomfortable area around the chin belongs in the fitting decision too.
Recheck with pack and gloves
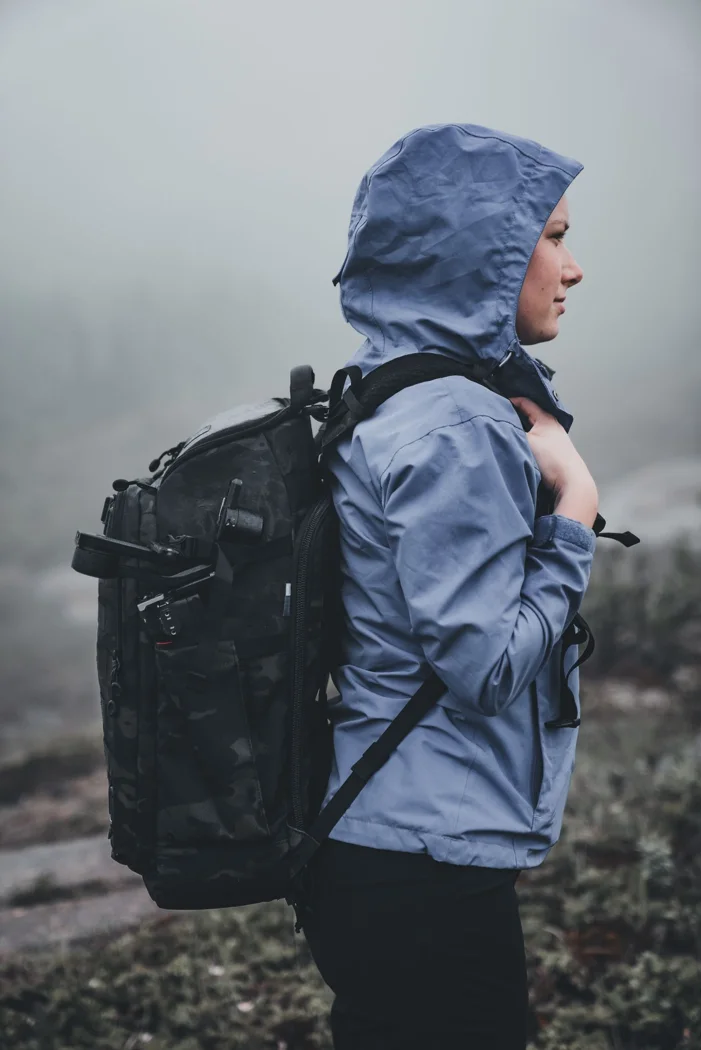
Put the daypack on. Make sure the rear hood area remains clear and the setting stays useful. Manage loose cord ends as the design intends. Long improvised loops are not a necessary feature of a correctly adjusted hood.
If gloves belong to the outing, operate important adjusters with them. A tiny stopper may be simple with bare fingers yet awkward in the full outfit. Learn this before walking.
Finally, put the hood down and check the collar. A bulky fold at the neck may interfere with the pack. Suitable outerwear works both with the hood up and with it lowered during a dry section.